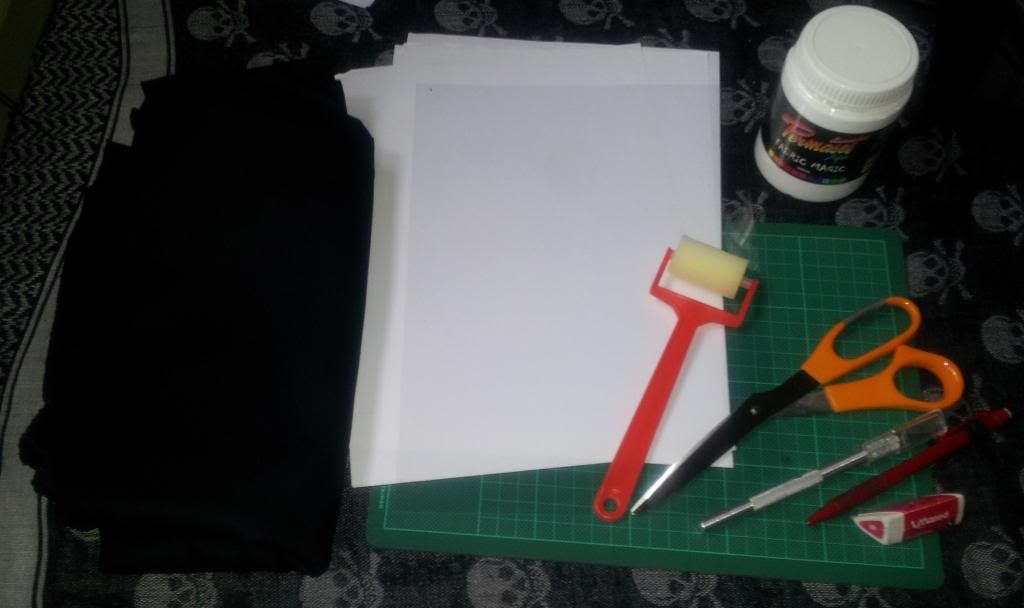
You will need:
- Cotton for your patch
- Paper
- Sheet of transparent plastic
- Sponge roller
- Fabric paint
- Scalpel, knife thing
- Scissors, pencil, eraser
- Cutting mat (optional)
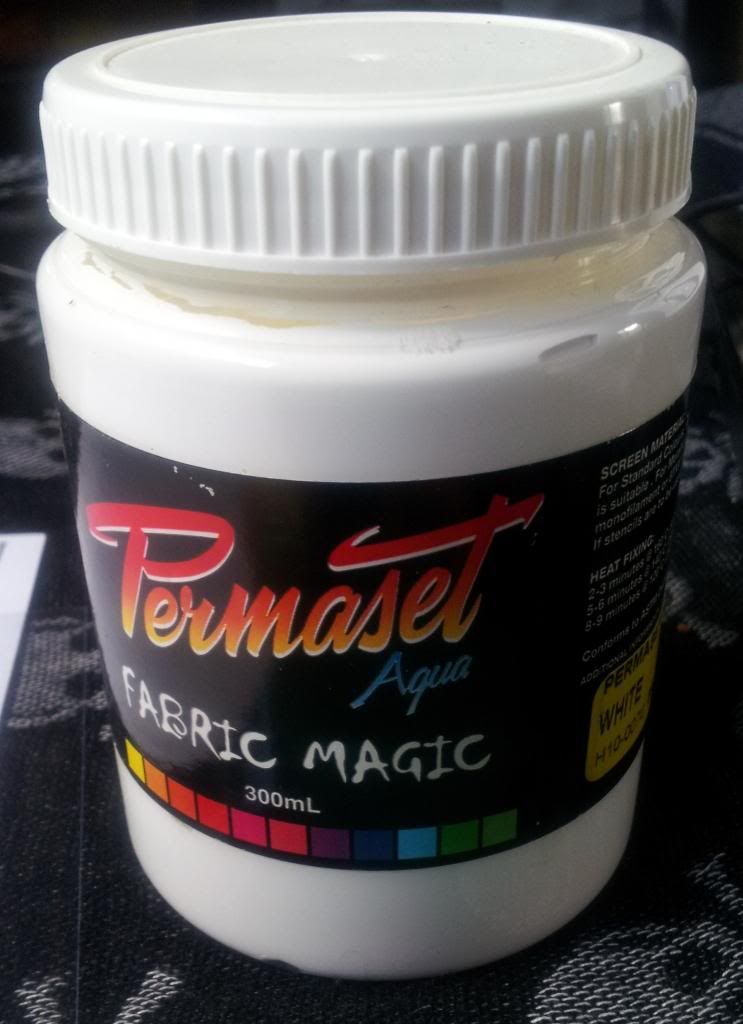
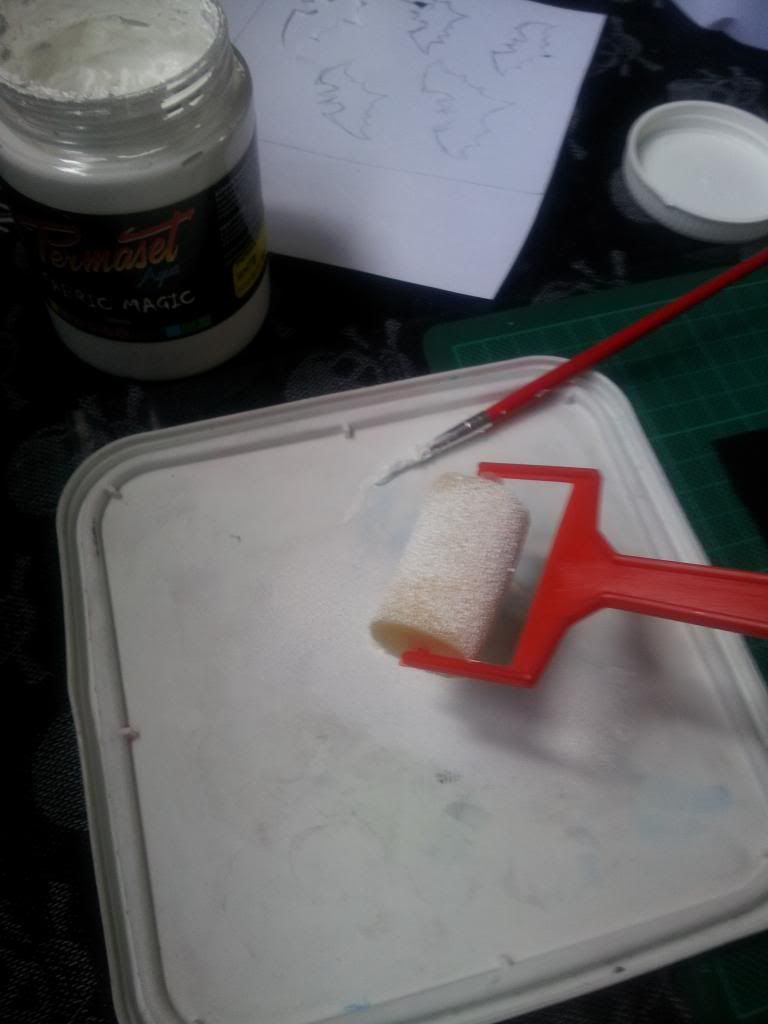
This is the brand of fabric paint that I use.
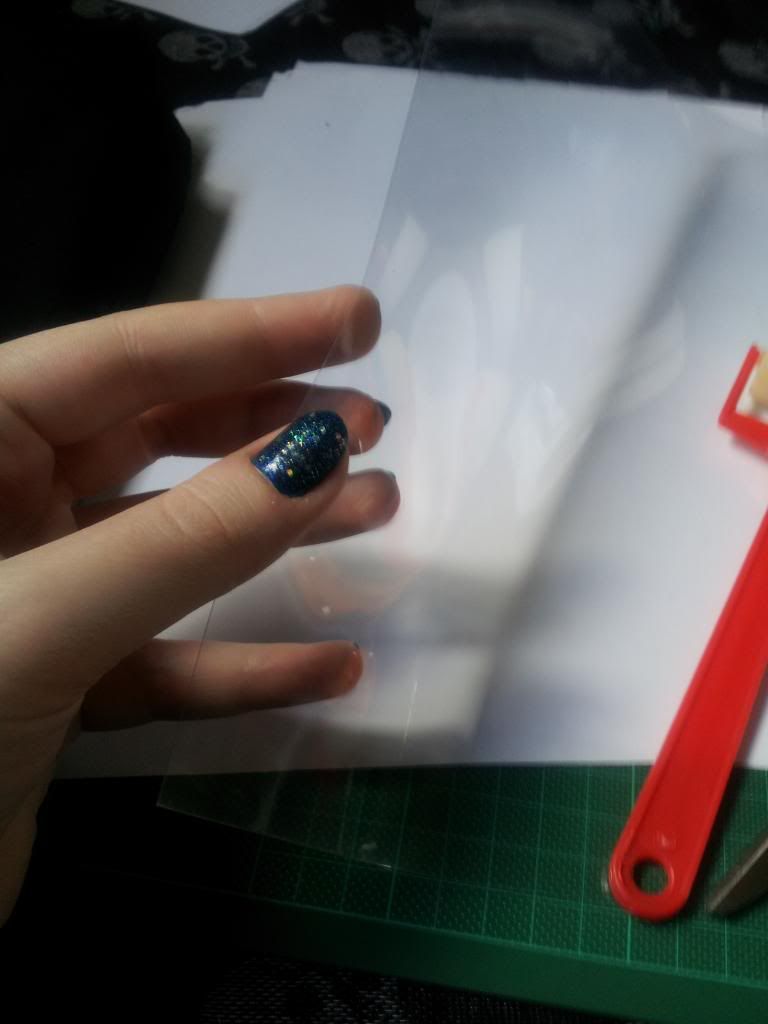
The transparent plastic is the stuff that's used on overhead projectors at school.
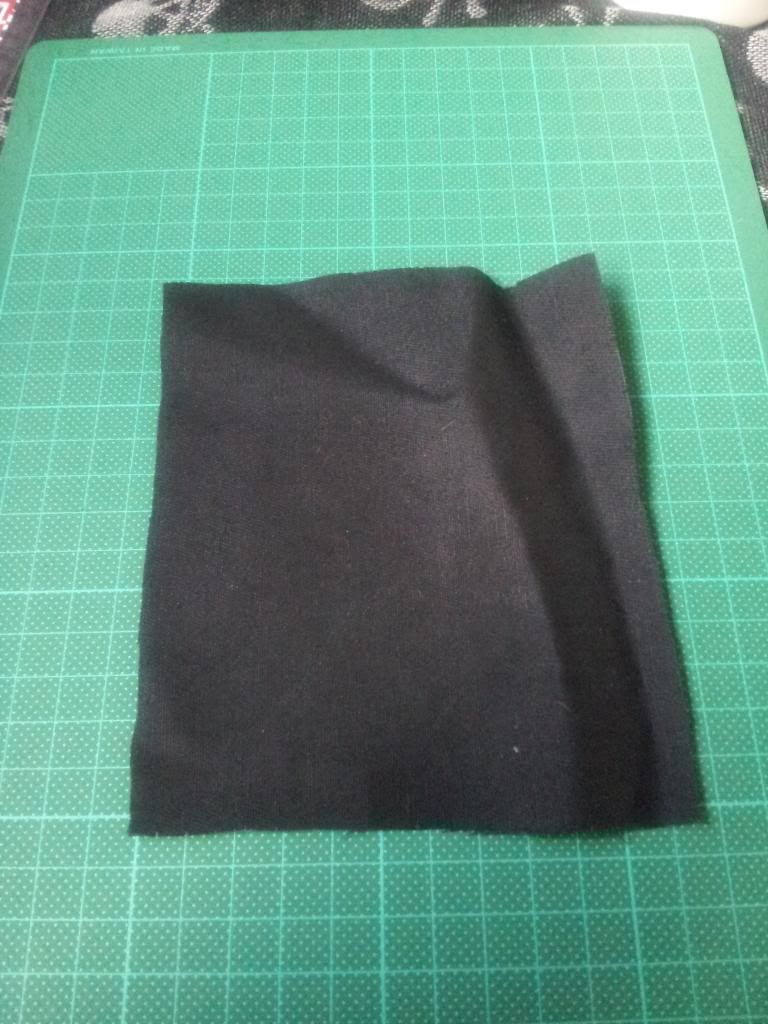
Step 1: Cut out the fabric in the size you want. I used black cotton Drill because it's thick and doesn't stretch.
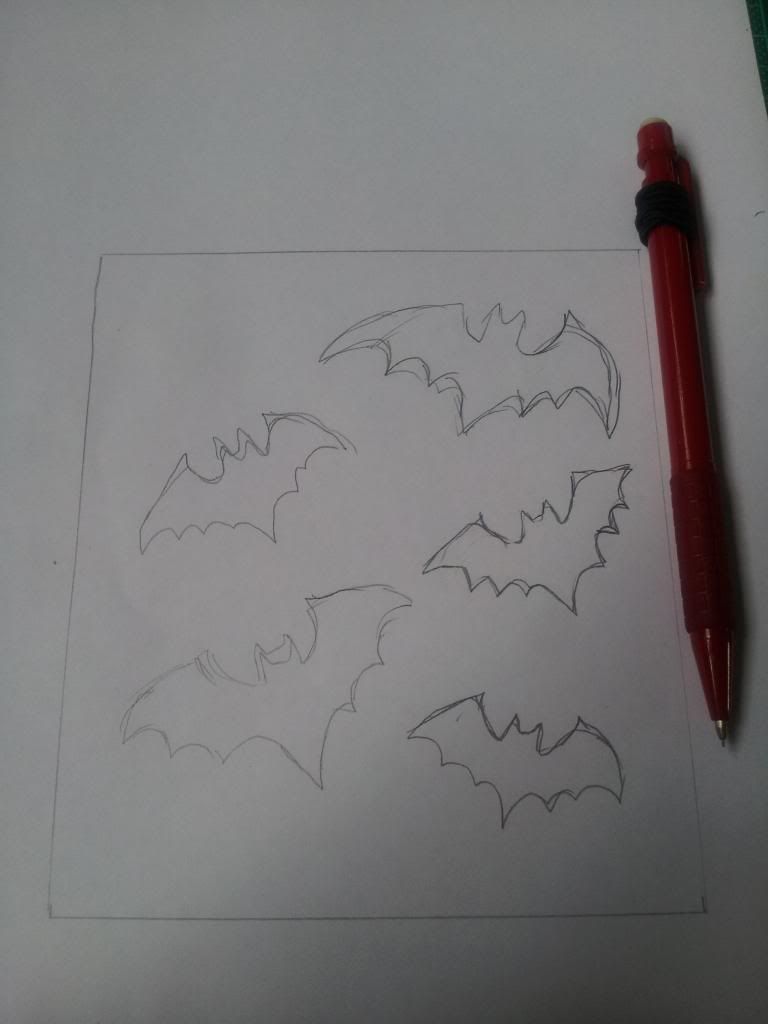
Step 2: Get your design. I drew my design, just simple bats. Remember to keep it simple!
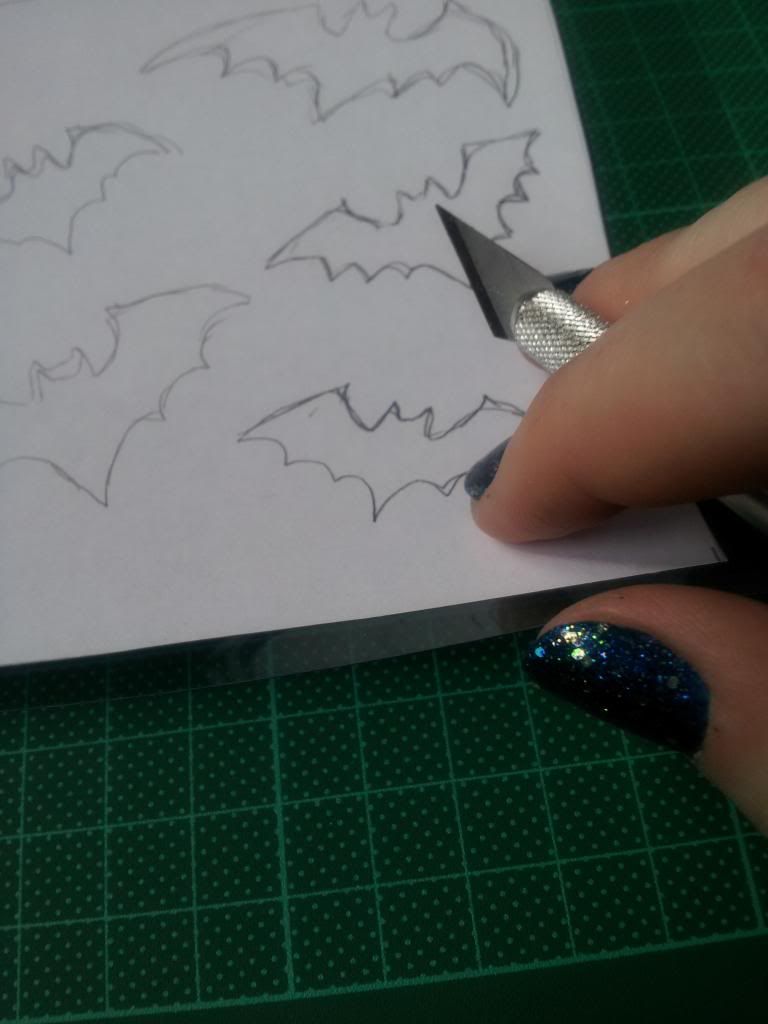
Step 3: You can either put your plastic over the top or under the design. Time to cut it out!
BE CAREFUL!!! The scalpel is sharp!
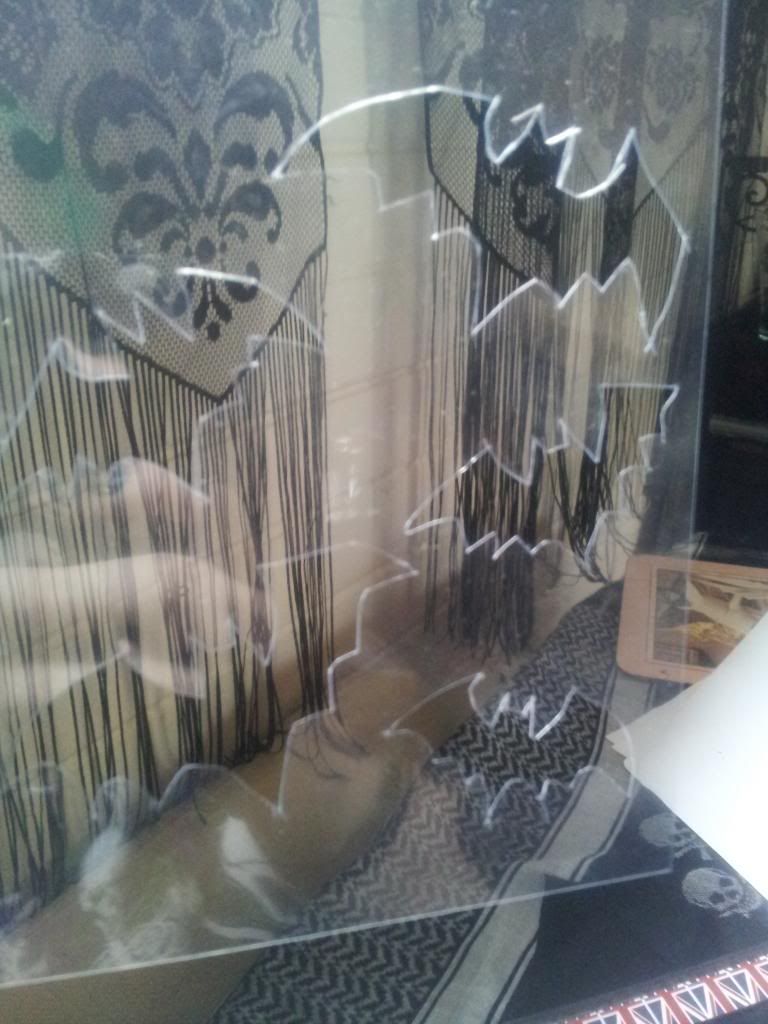
Cut out bats. Not perfect, but it was my first try.
Place the plastic over the cotton.
Step 4: Get your fabric paint and cover your roller. I always use an old icecream lid as my pallet. Make sure you have enough paint!
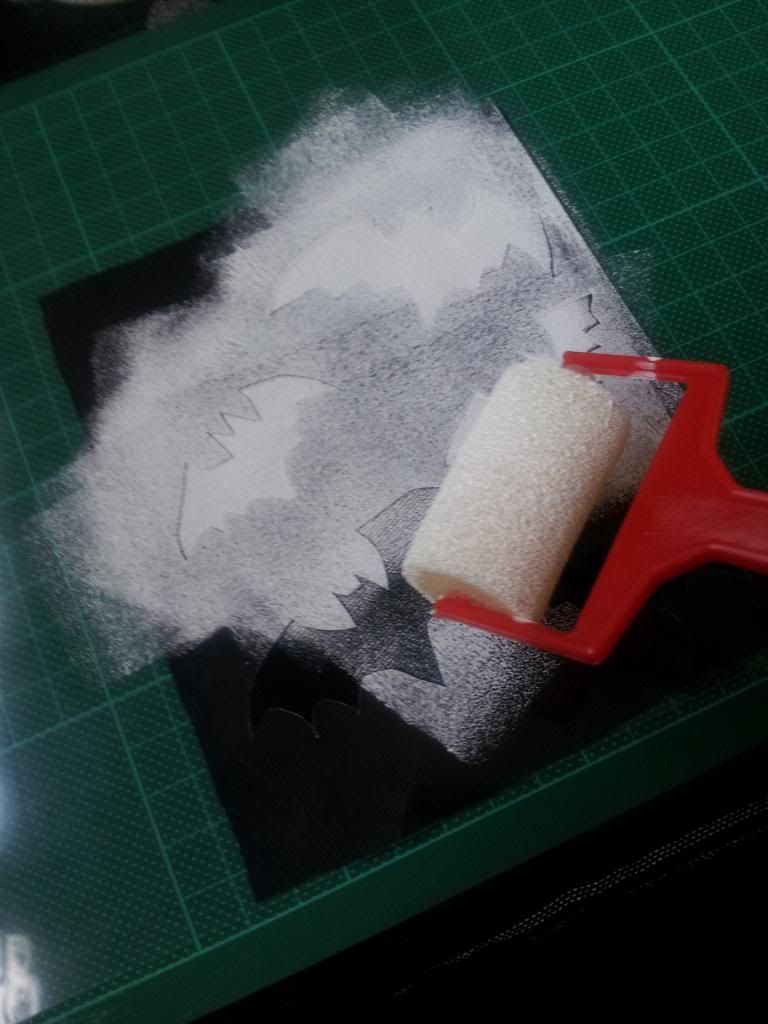
Step 5: Roll over your image. Make sure not to move the plastic and get every bit!
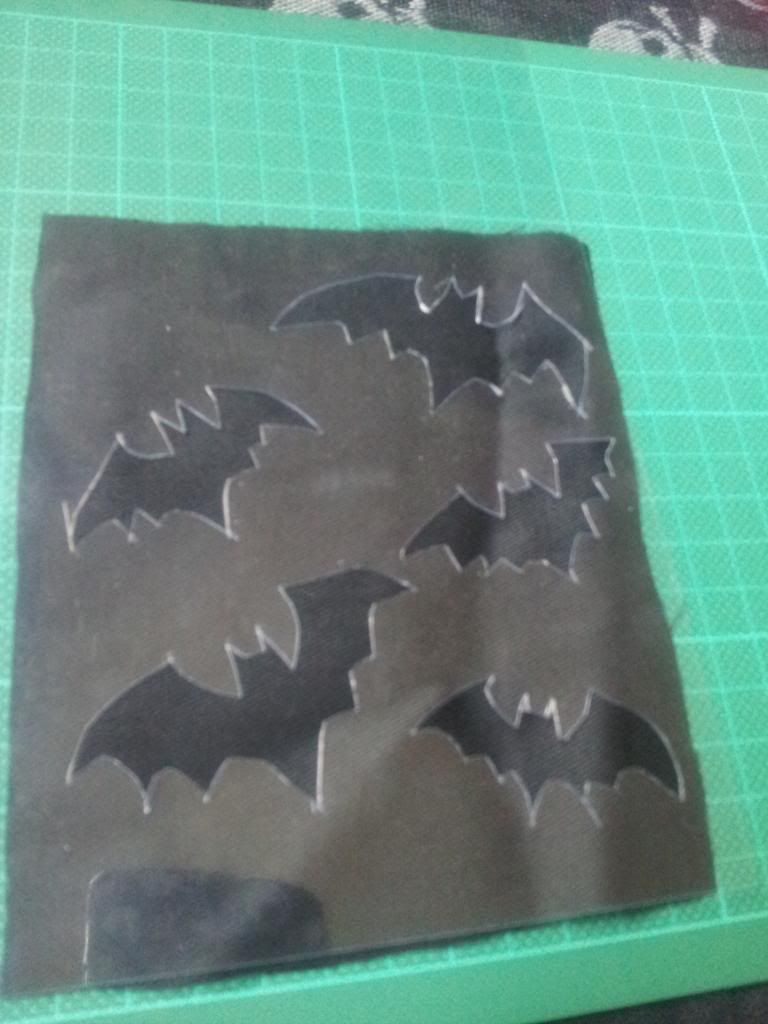
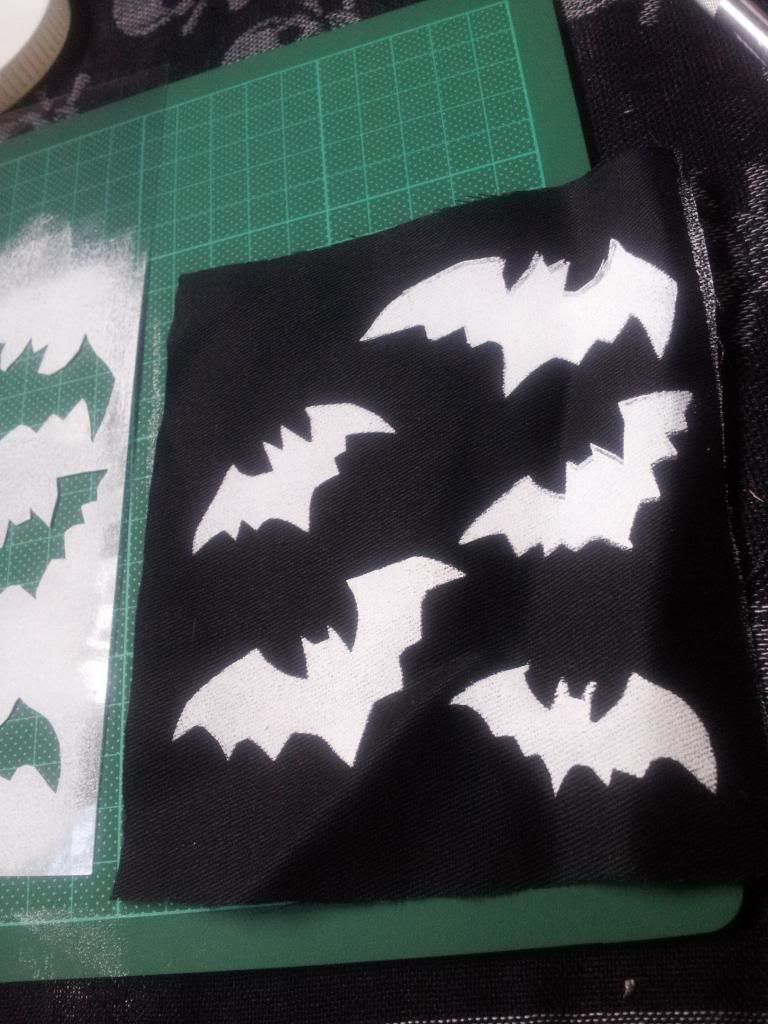
Take of the plastic and see what you've done. Looking good! My plastic moved a bit, leaving a strange edge on some of the bats, I think it looks cool though.
Wash your plastic, and roller. I left enough space on my plastic so I can cut out more images.
Let your patch dry overnight.
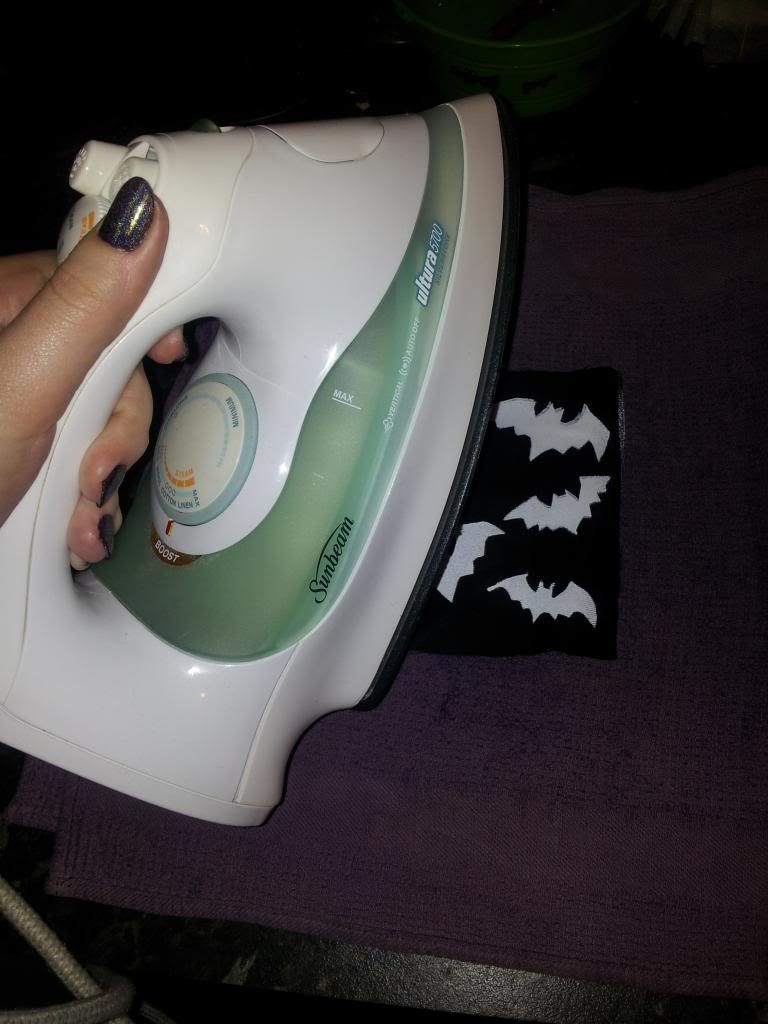
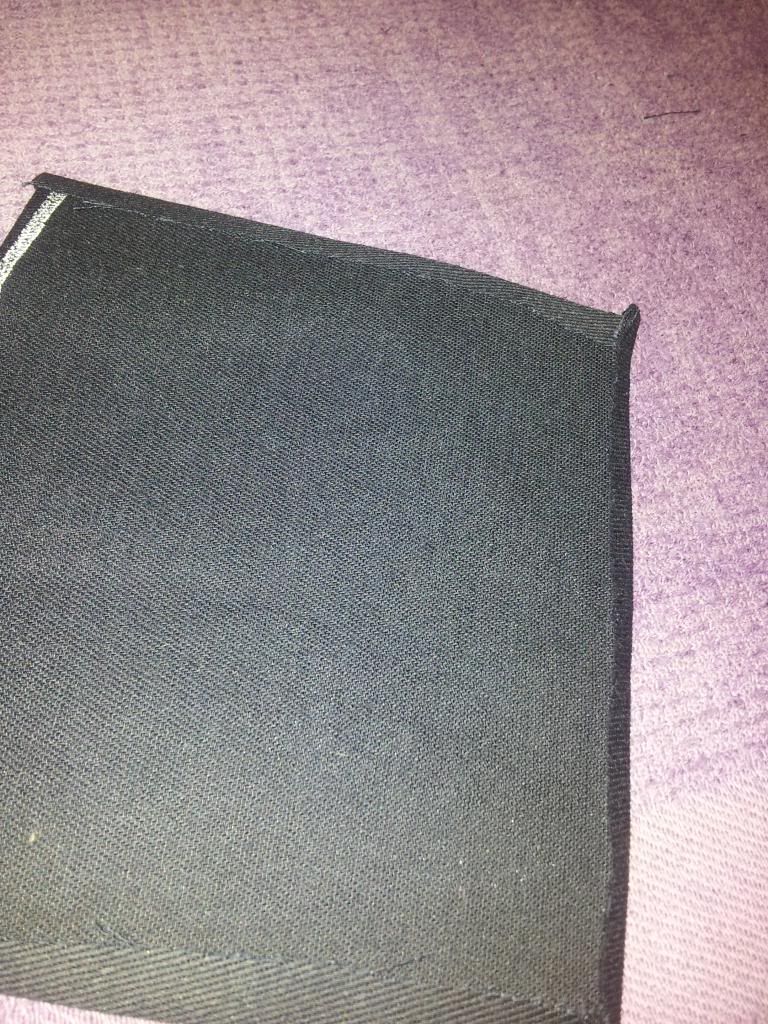
Step 6: Heat seal the fabric paint. This makes sure that it can be washed. I also ironed the sides down because I'm going to sew it so it doesn't fray.
Turned down sides.
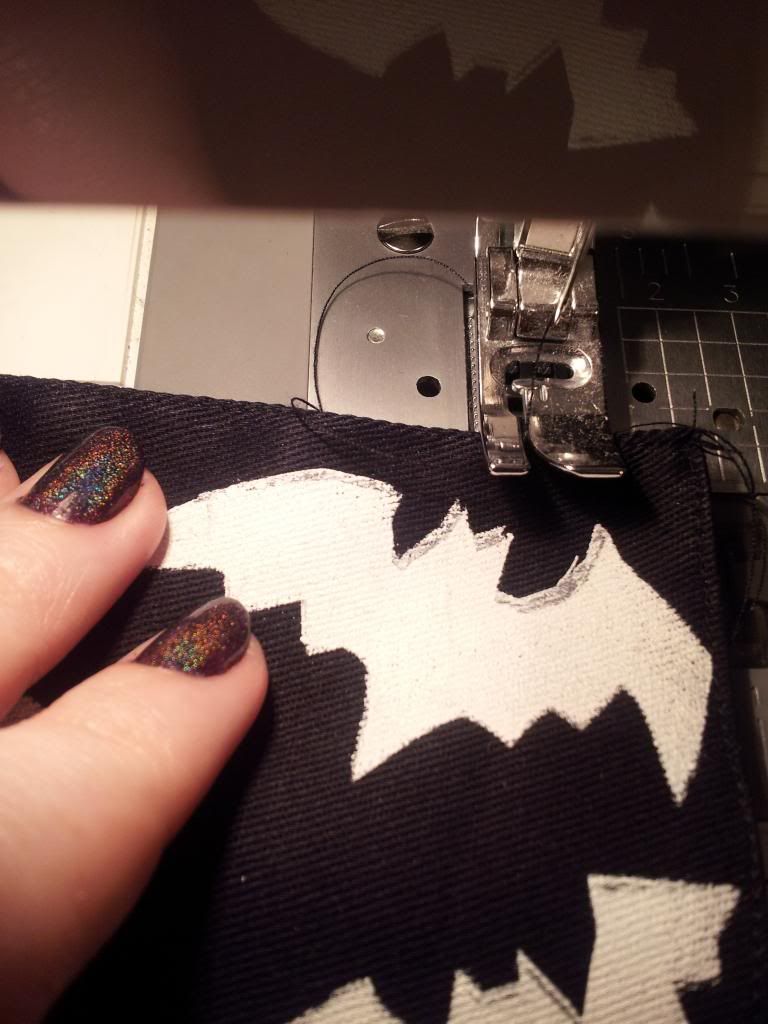
Step 7: Sew around the edges so it doesn't fray. This step is optional.
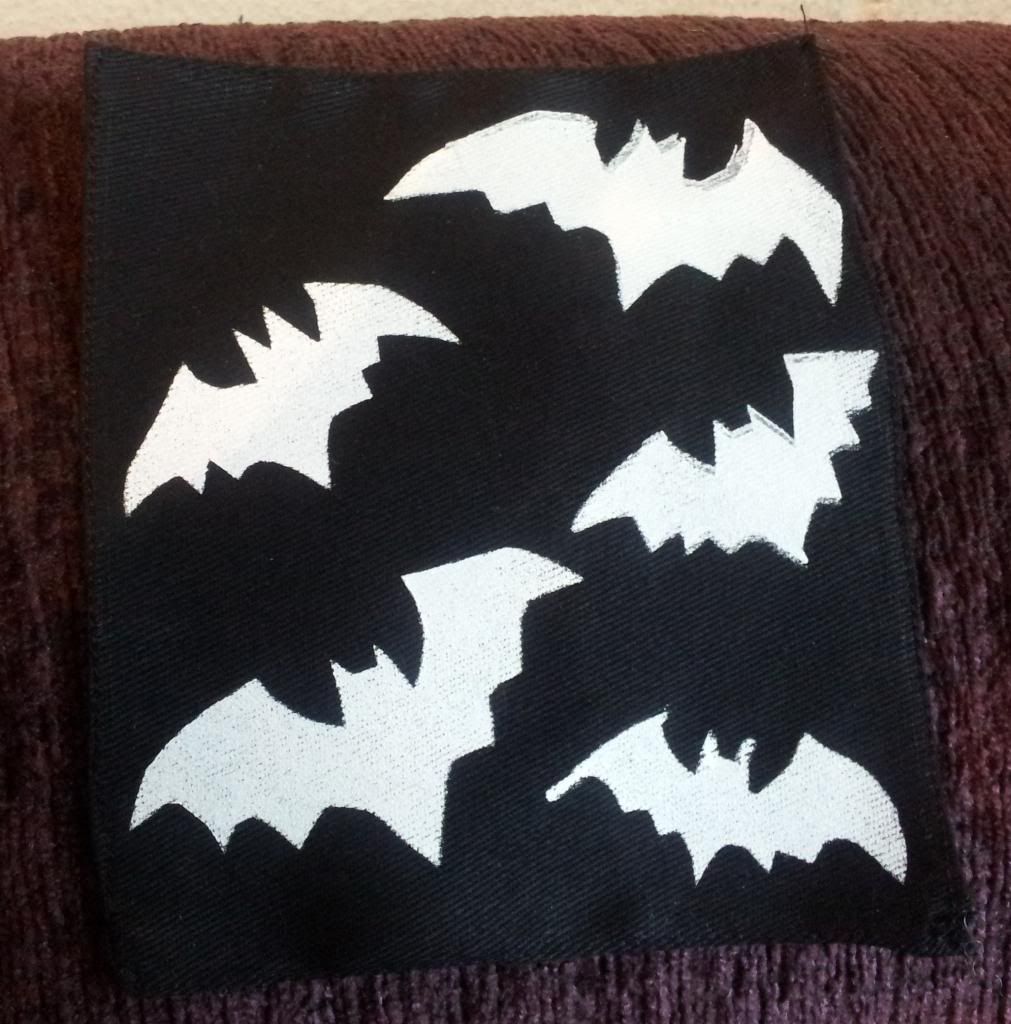
The finished product! Now it's ready to be sewn onto your favourite jacket or bag!
I think I did well on my first try, you can see how the bats look funny on the top right hand side. I like the effect though.


4 comments:
Looks awesome Natalie!!!
I want an entire dress with that stamp on it. oohh yea. gotta love the bats.
Nice job! Oh I loooooove bats ;)
I want to do this so much ever since I saw the template trick. I hope to have time for this this is so awesome!
Post a Comment